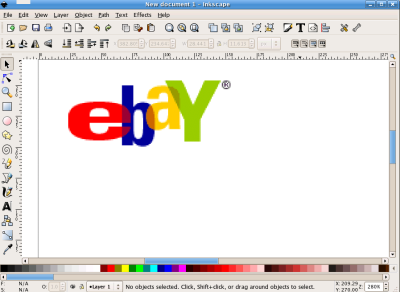
eBay logo
 First look at the ebay logo. Notice that the letters are transparent where they overlap. Some appear to be layered and sitting on top of others. We'll have to learn how to duplicate these using basic tools in Inkscape. Here's a link to the final file used in this tutorial if you'd like to look at it.
 |
Last modified: Thursday, 24 July 2014, 2:54 PM
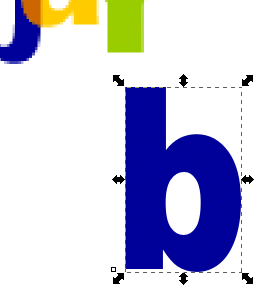 To create a letter "b" select the "A" on the left menu. This tool creates and edits text objects. To change the font selection and size, use the "T" on the top menu. This is the text properties tool. I changed my font to "Arial Black" and sized the letter to 100 pts. I used the eye dropper tool to sample the shade of blue in the ebay logo and that shade of blue was transfered to the letter. You can resize the letter with the arrows on the sides. It won't be exactly the same as the official logo but close enough is good enough.
  Repeat the steps above and create the rest of the letters. To do this you should add a layer from the layer menu. Create one layer for each letter. You can even "rename" each layer to match the letters. Your drawing should now look like the one at the right.
 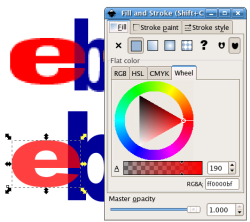 To change the transparency of an object, edit it with the "fill and stroke" tools under the "Object" menu. Our goal is to create a transparent effect where the letters overlap. The problem with simply making the whole letter transparent is that it changes whole letter and not just the part overlapped.